
DOWNLOAD THE APP


Customer Services
Copyright © 2025 Desertcart Holdings Limited
DOWNLOAD THE APP

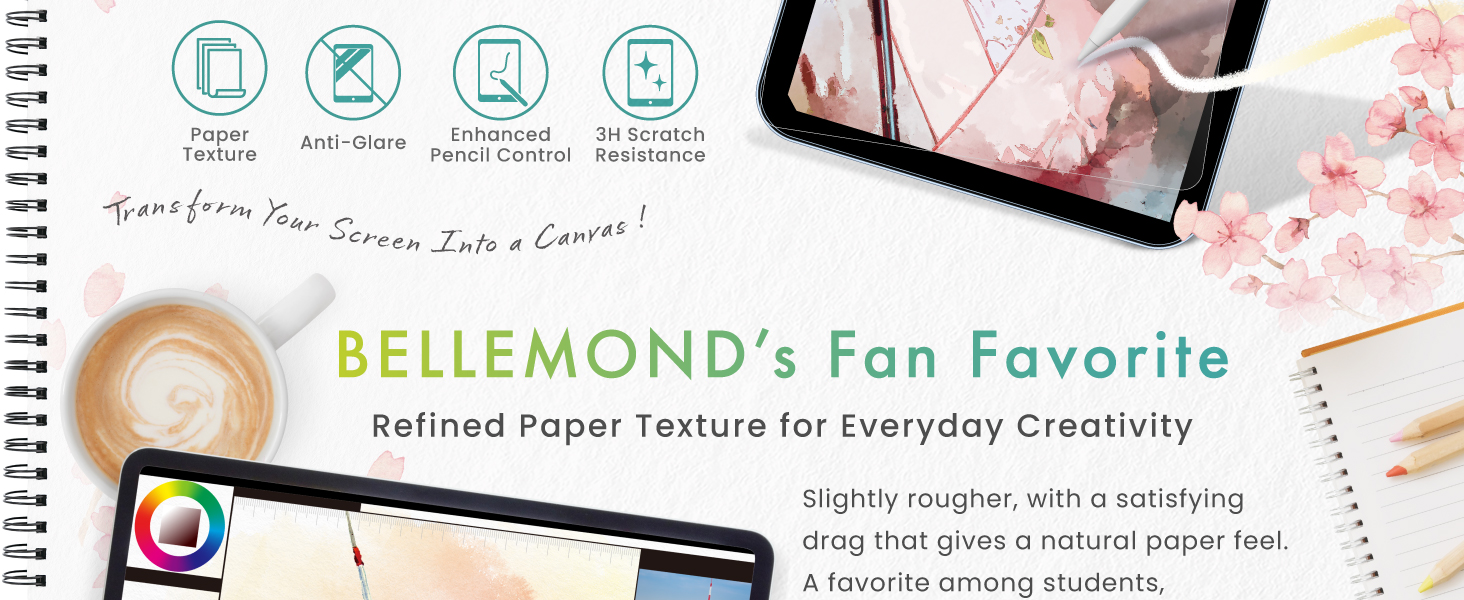
✍️ Elevate your iPad experience with the original paper-like screen protector — because your ideas deserve the best!
BELLEMOND’s Made in Japan Paper Screen Protector for iPad Pro 12.9” (3rd to 6th Gen) features a premium matte PET film that delivers a natural paper-like texture optimized for Apple Pencil use. It maintains full touch sensitivity and Face ID functionality while reducing glare and resisting scratches. Each 2-pack includes an installation kit for easy application, making it a top choice for students, artists, and professionals seeking a durable, high-quality writing and drawing surface.


| ASIN | B08VHQ91VY |
| Best Sellers Rank | #29,709 in Computers ( See Top 100 in Computers ) #621 in Tablet Screen Protectors |
| Customer Reviews | 4.2 4.2 out of 5 stars (336) |
| Date First Available | 11 February 2021 |
| Item Weight | 159 g |
| Item model number | BELUS065 |
| Product Dimensions | 25.4 x 22.86 x 1.27 cm; 159 g |
| Special features | Matte Finish |
| Whats in the box | 2 x Paper screen protector, 1 x Installation kit |
S**T
Not for professional Artist. Worked only for few months.
As a professional artist. I always went for the paperlike screen cover. It used to be much more cheaper back then but now, it’s ridiculously high price. I wanted to give a try to this screen protector after many positive reviews by artist and I must say it was very smooth transition from paperlike to bellemond for me. It’s really worth it. The only negative thing about it is that the surface get smooth after a few use like in a week. But it still maintain the paper feel. UPDATE: less than a year, the cover got so smooth and creating problem adding strokes while painting. Sometimes get itching sound. I was impressed by the quality for few weeks within that price. But now, I will highly recommend paperlike (original) cover which I used more than 2 years and it maunting the paperlike feel. Removing 4 star rating to 2 star. Not sure why people having a problem installing it as it has same installation process than almost all screen protector.
M**M
My opinion
It’s okay it works well it’s smooth and good!
A**I
الملمس ممتاز في البداية ولكنه يزول بعد أقل من شهر من الاستعمال. ويصبح أملس كالشاشة العادية
F**L
I really wanted to like it. The matte texture was easy (non-glare) to look at and the texture felt nice to my fingers, but ultimately it was useless. I had to take it off within two days. The problems I had: (1) It wore down my Apple Pencil nib immediately. I used it for less than two days before removing it and even in those few working hours it left extremely visible wear on my pencil tip. I realize pencil wear is a common issue with paper-like screen protectors (their texture is essentially very fine-grain sandpaper, I get that) but having visible wear in a matter of HOURS felt really excessive. It took weeks or months in the past for that to happen with other brands. Ultimately I think this would have been a deal-breaker for me on its own, but... (2) Even before that, installation was nearly impossible. I've done dozens and dozens of screen protectors on various people's iOS devices over the years, so it's not lack of experience, but this was one of the worst install experiences I've encountered. Even doing it with clean hands on on a clean kitchen counter to minimize dust/fibers and following all the tips on the official and unofficial videos, I could not get the thing on straight or cleanly. It's so thin (even with the liner sheet backing it until installed) that it jumped all around by static electricity no matter how carefully I aimed and little dust particles jumped onto it even when the screen below was clear. It was ridiculous and utterly infuriating. (3) Also, please note that they mean it when they say not to install it over tempered glass screen protector. I've never had a problem doing this before (i.e. putting a matte/textured/other film over the glass) with other brands, but this time it killed the responsiveness. It often didn't register my taps, or it overreacted to them with what my sibling calls "pixel barf" (spontaneous big blobs and/or random chaotic staggering lines across the screen). If the thing had been easier to install and didn't wear down my pencil nibs, I might have considered taking off the glass layer and re-applying the second Bellemond (they come in a 2-pack) directly to the screen, but because of #1 and #2 above, it honestly didn't feel like there was any point in trying. Overall, I loved the idea of a matte/paper-ish screen for drawing, and it seemed like this would be a strong alternative to the overpriced Paperlike brand (which had its own issues but was at least useful for several months), but unfortunately it was a total flop.
B**S
I don’t like the paper feel screen protectors that attach magnetically or with static or whatever, because they get sort of loose and unkempt. The ones that stick on for a permanent install, and you know the brands, it seems to me the difference is not in the quality of the screen protector, but in the installation kit they give you. this particular item I am reviewing has no install kit to speak of, and if you read the reviews, you will see that’s the only thing people are really unhappy with. A permanent install version gives you a nice tight experience. All you have to do now is install it perfectly. Here’s what you need to do to install this one as if you spent $40 plus on one of the ones with the fancy installer. Get some washi tape or masking tape. Position the screen protector perfectly on your screen. Take your time in this step and all my steps. Sit at a table with good lighting. Have your tools around you. Take your case off if you haven’t already, and of course, you will have already cleaned the screen with the kit they gave you. Make little hinges on one side of the protector with washi or masking tape. Tape the protector to the iPad in this way. Make sure it is tight and precise. Remove the adhesive backing after you have flipped back the whole thing on the little hinges you just made, and very carefully apply it to the screen slowly rolling it down and placing it steadied by the hinge. Watch the edges not the bubbles!. It is somewhat forgiving in letting you reposition, but you don’t want to do that a lot. Once it is perfect on the sides, now get a credit card or the card they give you and start working the bubbles out. Work the bubbles out until they are gone. Totally gone. You can fix them later, but they will never be as perfect as if you fix them right now. Don’t get excited and start using it until you have done this. Be careful that the card does not dig into the plastic coating. When it starts to do this, it’s time to take that plastic coating off because you can continue somewhat with the bubbles once it is off, but you want to get as many out as you can before you remove that. The bigger bubbles can be pushed to the edge as if they are water droplets. Smaller ones can be sort of burnished down and out. Pay attention as you go, and you will get a technique. This installation will be flawless, and you can afford to change your protectors more often by not paying all that extra money for a few stickers that make up an “install kit. keeping a fresh protector on every three months or so is, in my opinion is the best way to enjoy this type of protector. This particular brand is now my personal favorite. If I had had to install it just freehand, though I may have killed myself in the process. I hope this helps! Keep drawing!
A**T
These screen protectors are, on their own, very good. The texture is not like paper, it's more like a very fine sand paper, and it gives a the pen a good amount of traction. It might be a bit grating to some, especially if you use your fingers on the screen a lot, but, personally, I like it. Unlike other screen protectors I've used, these don't really dull the color of the screen as much, which is a huge plus if you're using these for art. My only complaint is that the installation process is really lacking. The instructions just have you stick it on with no other guides, so I decided to wet install it to reduce the chance of misaligning it. Do NOT do what I did: It created a lot of bubbles. I managed to get rid of a good amount of them, but there were still some that were impossible to get out.
G**S
Works well, rougher texture wears out leaving smooth and shiny areas while creating illustrations. I’ve gone through a number of brands and the first one to really get it right is GhostPaper. Buy that with Zagg black replacement tips and it’s a perfect combo for artwork.
Trustpilot
1 day ago
3 days ago