Description
🪑 Upgrade your throne — because your chair deserves a glow-up!
- UNMATCHED DURABILITY - Class 4 heavy-duty gas lift supports up to 1000 lbs, outlasting cheaper alternatives that sink fast.
- LIFETIME PEACE OF MIND - Backed by a no-expiration warranty, ensuring your chair stays reliable for years to come.
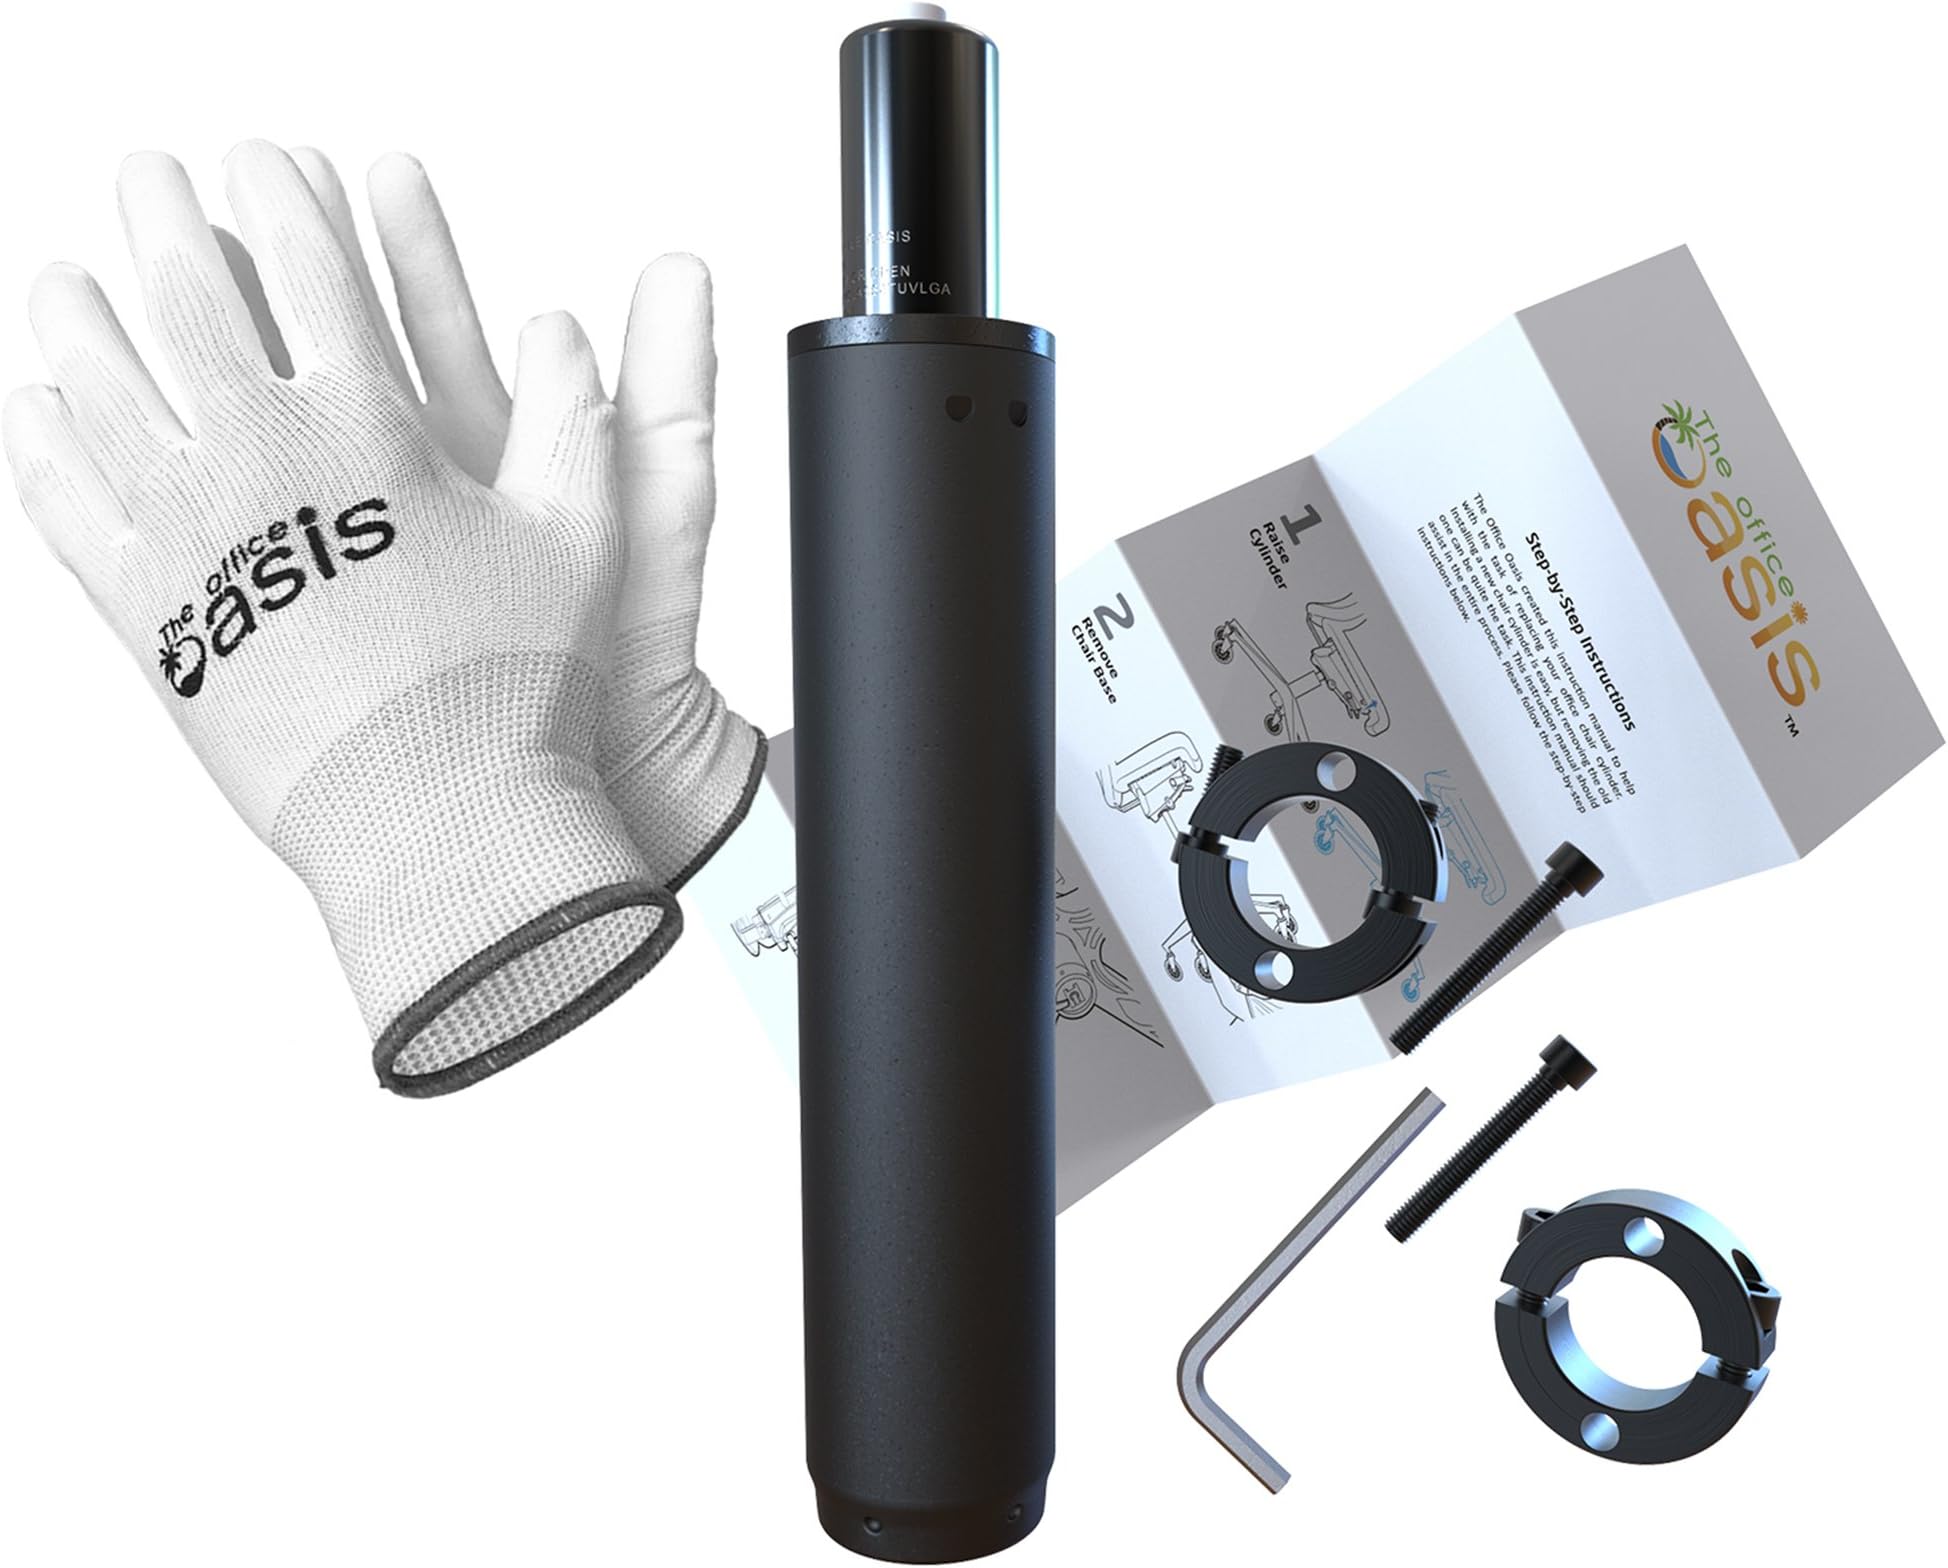
- EFFORTLESS INSTALLATION - Say goodbye to hours of struggle with our exclusive removal tool designed for quick, hassle-free replacement.
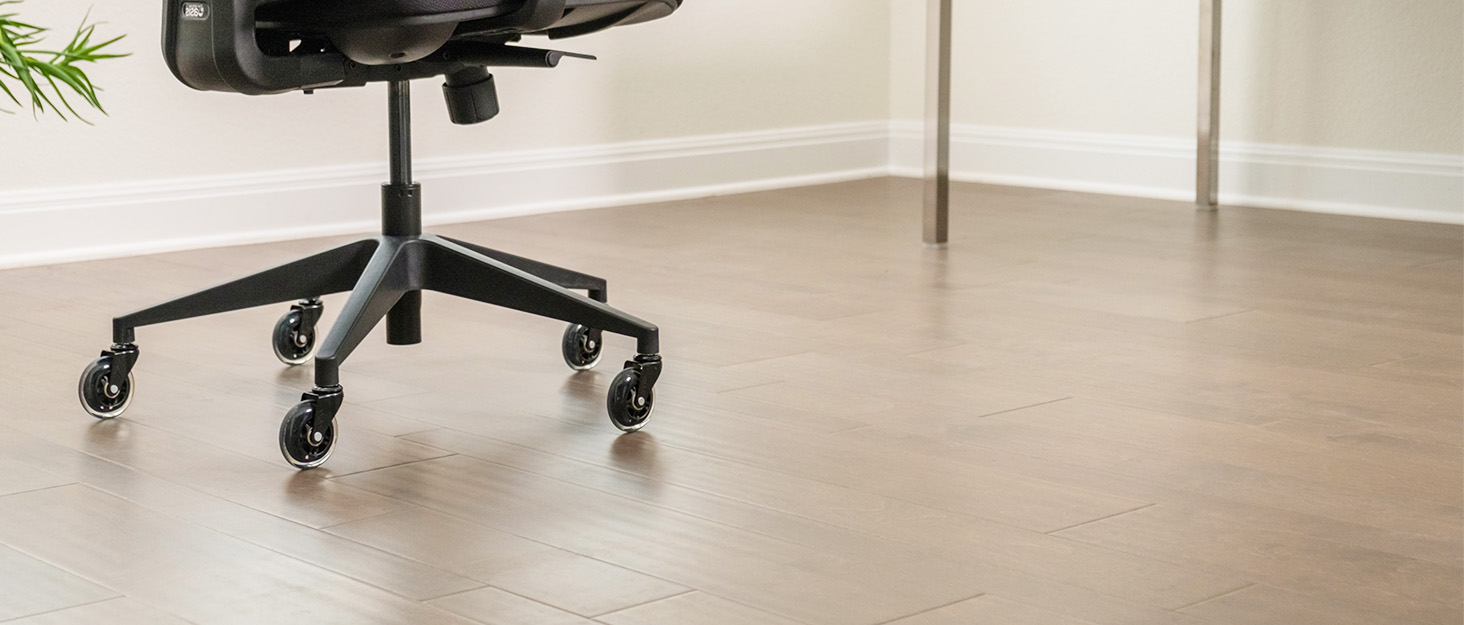
- UNIVERSAL COMPATIBILITY - Fits nearly every office and gaming chair, including premium models like Herman Miller Aeron.
- COST EFFECTIVE CHAIR REVIVAL - Save hundreds by replacing your cylinder instead of buying a new chair—sustainability meets savings.
The Office Oasis Office Chair Cylinder Replacement Kit features a heavy-duty Class 4 pneumatic gas lift piston with a universal fit for most office and gaming chairs. It includes a patented removal tool, gloves, and step-by-step instructions, enabling easy installation. Supporting up to 1000 lbs and backed by a lifetime warranty, this kit revives sinking chairs efficiently and cost-effectively, trusted by over 120,000 users since 2016.