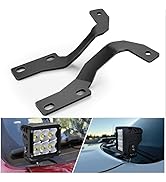
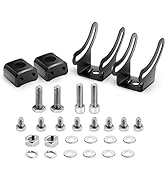
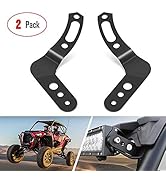
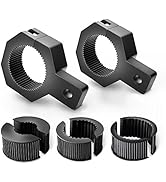
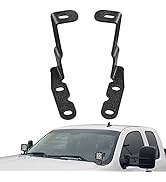
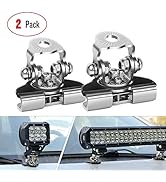
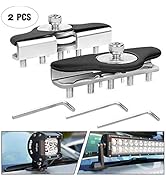
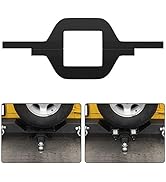
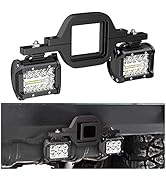
Description
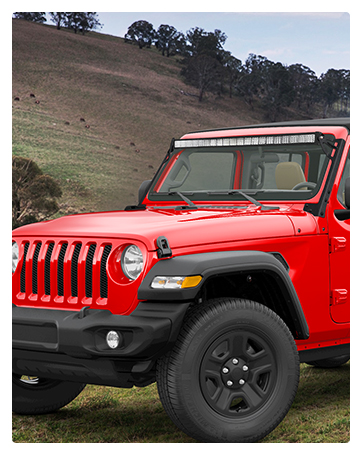
🚙 Light up your adventure with hassle-free mounting!
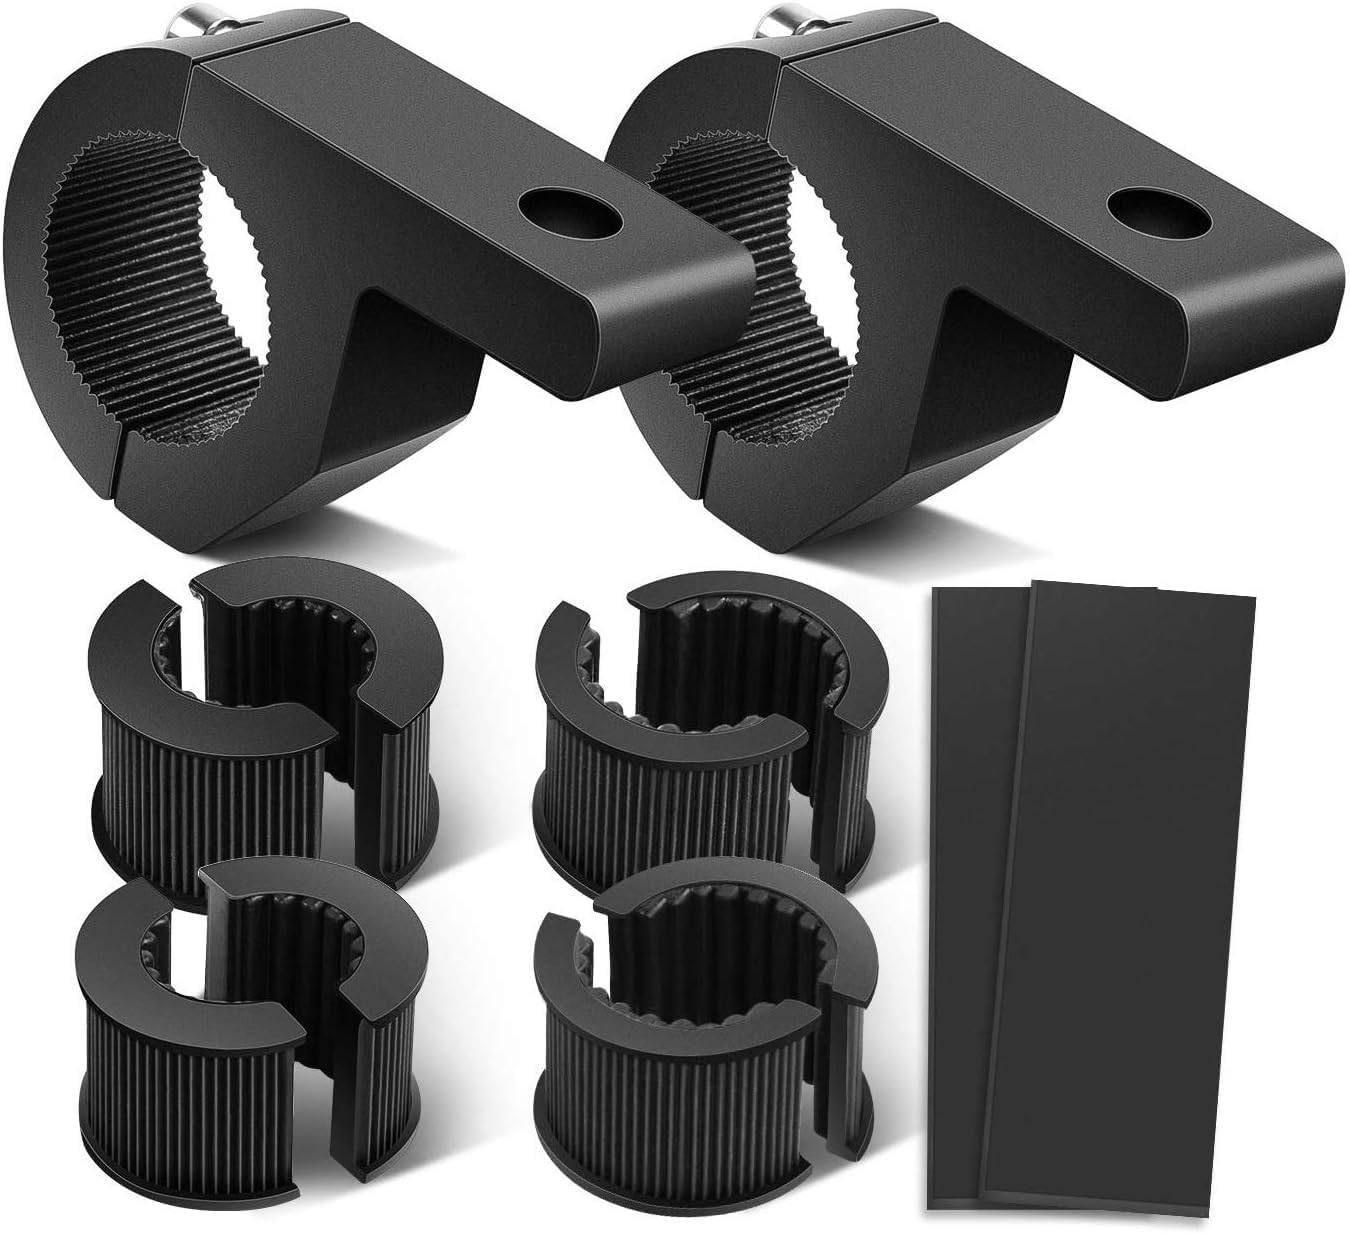
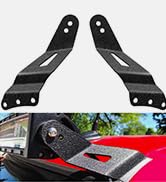
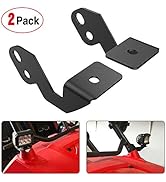
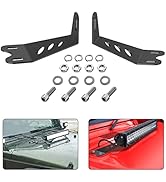
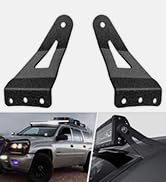
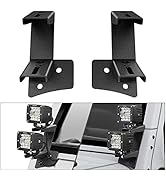
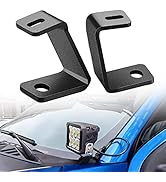
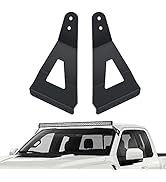
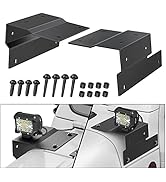
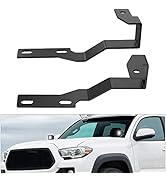
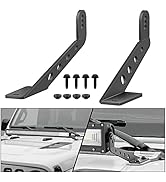
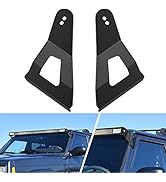
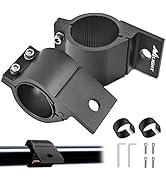
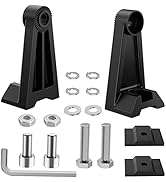
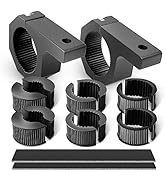
- OPTIMIZED COMPATIBILITY - 10mm screw holes designed to fit all light bars with 8mm mounting screws—streamline your setup.
- CONFIDENCE BACKED BY WARRANTY - Enjoy peace of mind with a 2-year warranty, trusted by thousands of off-road enthusiasts.
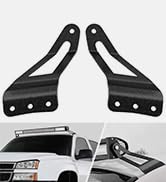
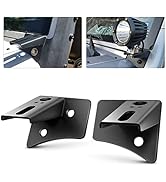
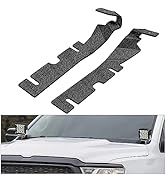
- DURABLE YET LIGHTWEIGHT BUILD - Crafted from precision-welded cast aluminum for long-lasting strength without adding bulk.
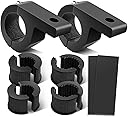
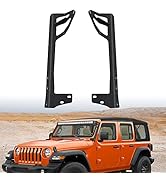
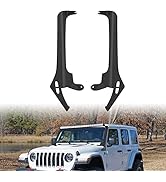
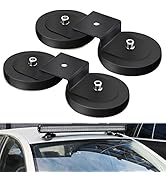
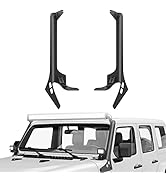
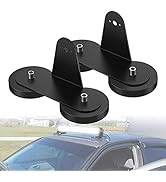
- UNIVERSAL FIT FOR VERSATILE MOUNTING - Securely clamps on 0.75", 1", and 1.25" bull bars, roof racks, and roll cages—perfect for ATVs, UTVs, and trucks.
- EFFORTLESS INSTALLATION NO DRILLING NEEDED - All-in-one kit with rubber inserts ensures a snug grip without damaging your vehicle’s metal surfaces.
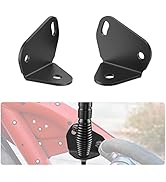
The Nilight 90027B Mounting Kit offers a robust, lightweight aluminum clamp system designed to fit horizontal bars from 0.75" to 1.25". Compatible with a wide range of LED light bars using 8mm screws, it features rubber inserts for secure grip and metal protection. Ideal for ATVs, UTVs, and trucks, this kit simplifies installation without drilling and comes with a 2-year warranty, making it a top choice for off-road lighting upgrades.